Want to give yourself fabulous gel nails at home – or are you just looking for a good gel manicure kit? All your needs can be filled on BORN PRETTY.
A gel manicure at home is not for perfectionists only – anyone can DIY gel nails and have them look seriously beautiful.
Start out with the right supplies! This is not the place to look for knock-off brands. Lesser quality gels don’t stick as well and chip easily.
WHAT YOU NEED FOR GEL NAILS AT HOME?
- Stainless steel nail clipper
- Nail buffer file
- Nail cuticle oil
- Rubbing alcohol
- Base coat
- Gel polish colors
- Top coat
- LED lamp or UV Lamp
HOW TO DO YOUR OWN GEL NAILS AT HOME: 8 EASY STEPS
Here is an easy-to-follow, step-by-step guide on how to do your own gel nails at home.
- PREP YOUR NAILS
Prepping your nails before the whole gelling process is crucial because it's not something you can do after applying the gel polish. If you were to try, you would immediately ruin your gel manicure.
Prep your nails by:
Cutting your nails - Use a clean nail cutter to cut off extra-long extensions of your nails for a uniform look.
Shaping your Nails - Shaping your nails requires nothing but a file. File your nails to a shape you desire, whether it's round, pointed, square, almond, or oval - it's your preference.

- APPLY CUTICLE OIL
Cuticle oil helps loosen your cuticles easily when pushing the cuticles, allowing your nail bed to be more exposed to gel polish.
Apply a drop of cuticle oil, massage your nail, then gently push your cuticles back with the edge of a file or a small orange wood stick.
After applying cuticle oil, make sure you wash your hands well to keep the oil off your nails. This is an important step. Any oil you leave behind can lead to your gel nail lifting.
- BUFF YOUR NAILS
The smoothness of your nail matters when it comes to making your gel manicure last longer. Make sure to buff your nails to make it a rough before you apply the polish for the best result.
Use the roughest part of the buffer to gently buff the surface of your nail as you move the buffer from your nail base to the edges. Depending on the buffer’s abras.
- WIPE YOUR NAILS WITH RUBBING ALCOHOL
Buffing leaves behind a lot of dust that can interfere with the gelling process. you can clear the nail of the traces of dust with rubbing alcohol.
After washing your hand with warm water and hand soap, dry them gently using a soft cloth. Redo the same process for the other fingers to achieve dry and clean nails free from oils ready for base coating.
- APPLY BASE COAT
Apply a thin layer of base coat. Make sure it’s evenly applied across the whole nail. This step is crucial,Otherwise, when you apply the colored gel polish, there will be a gap where the gel polish won’t adhere.
After applying the base coat, cure the nail with your LED cure lamp for about 30 seconds. This duration differs depending on the lamp you are using.

- APPLY GEL POLISH
Apply a thin layer of gel polish carefully without it mistakenly touching your cuticles. Make sure you evenly apply the gel polish on all of your finger nails. cure with UV lamp for 1 minutes or cure with LED lamp for 30 seconds.
based on the amount of time specified by your curing lamp. If none is indicated, 30 seconds is the typical amount of time.

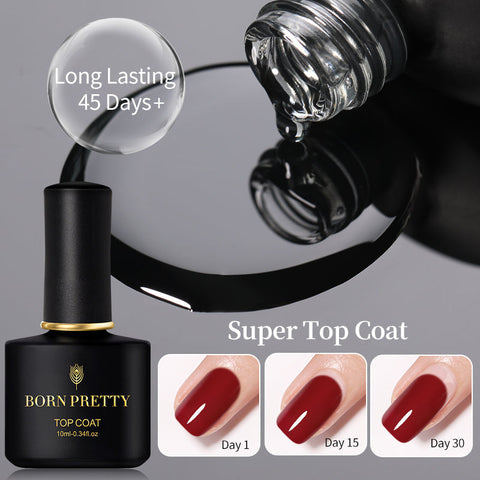
- APPLY THE TOP COAT
Applying the top coat ensures that the cover you're about to apply protects all the work you've done on your nails.
Use a light layer of the top coat over the colored gel polish while carefully sealing your nail tips. It’s a little trick to make your polish color last much longer.
- AFTERCARE
Massage cuticle oil around your nails and cuticles to help nourish your skin every now and then, preventing them from drying out and keeping them looking healthy.
Remember, when you have a gel manicure, Avoid hot water if possible.


